How does serverless compute work in stream processing?
Learn more about the infrastructure that accelerates building data driven-products. We break it down with a super-speedy explanation and video.


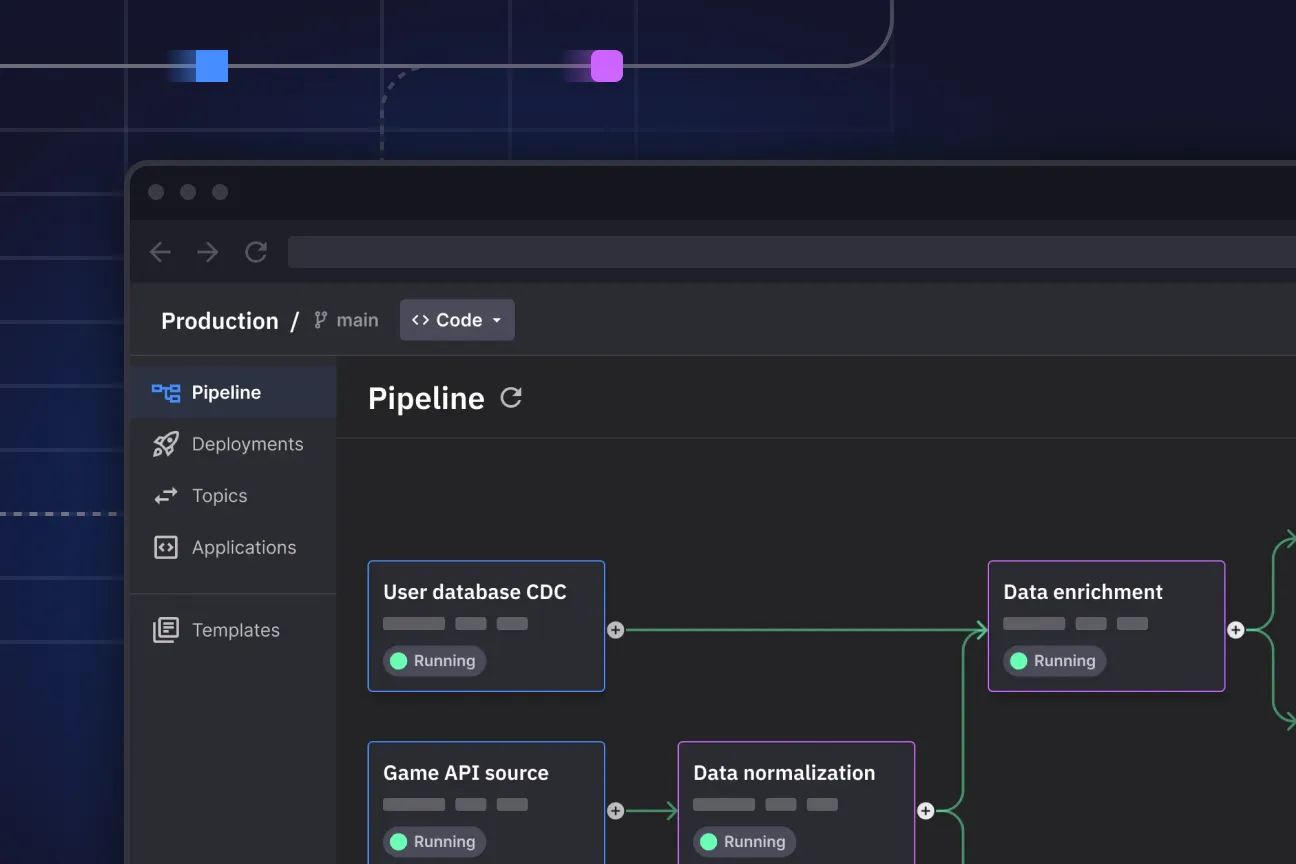
With ready-to-use infrastructure, you can jump straight in to writing code
In the journey toward deploying a data-driven product to production, there are a lot of hurdles that a developer or data scientist must clear.
Our team recently charted these, describing each step in a typical CI/CD (continuous integration/continuous delivery) development pipeline. Within each process, we found additional sub-processes that slowed development even more.
Sketching out our customers’ experience with traditional software development tools energized our team at Quix because we’re working to eliminate the complexity and hassle associated with stream processing.
That’s why I wanted to bring you a short explainer of Quix’s serverless compute for stream processing. Our platform integrates Git source code, Docker, Kafka and Kubernetes — so you can focus on writing code rather than standing up a development environment.
Serverless compute for stream processing with Python
Want to see what that looks like? Here’s a short, 75-second video I made that walks you through these elements Quix:
A few highlights you’ll see:
- Quix manages an elastic environment for you. You don’t need to worry about servers, nodes, memory or CPU. Set the limits for your deployment, and Quix will do the rest.
- You can commit and track changes using GIT as the underlying source code repository
- Docker integration and the docker file supplied with each project allow you to fine-tune things if needed
- You can view the build and runtime logs
- Deploy dashboards and public APIs as part of your application with the public access options
How to deploy serverless compute for data stream processing
As a next step, you can take a closer look at deploying to the Quix serverless environment. Here’s an 80-second video to show how I do that for a very simple website:
To deploy code, select any variables needed, choose the version and desired resources, and hit deploy. Your code will be built, deployed and run. If you want to deploy a frontend or any publicly accessible models with API or application code, you’ll also want to enable Public Access on the Network tab.
Deployments can be either a “job” or a “service.” Jobs are for training ML models or one-time operations, such as batch importing historic data. Jobs are marked as completed after the process terminates.
Services are for running application code, ML models or frontends continuously in production. Services are automatically restarted if the process terminates.
I hope you enjoyed my short walk-throughs. Curious to try it yourself? Sign up for free or explore our YouTube channel for more explainers and video tutorials. If you have any questions, join us on our community Slack.
What’s a Rich Text element?
The rich text element allows you to create and format headings, paragraphs, blockquotes, images, and video all in one place instead of having to add and format them individually. Just double-click and easily create content.
Static and dynamic content editing
A rich text element can be used with static or dynamic content. For static content, just drop it into any page and begin editing. For dynamic content, add a rich text field to any collection and then connect a rich text element to that field in the settings panel. Voila!
How to customize formatting for each rich text
Headings, paragraphs, blockquotes, figures, images, and figure captions can all be styled after a class is added to the rich text element using the "When inside of" nested selector system.
Steve Rosam is the Head of Content at Quix, where he oversees the creation and maintenance of content for publication both in-house and externally. With a background in software development spanning two decades, Steve has experience in a variety of industries including automotive, finance, media, and security. His technical expertise now fuels his leadership in content strategy and development at Quix.
Check out the repo
Our Python client library is open source, and brings DataFrames and the Python ecosystem to stream processing.
Interested in Quix Cloud?
Take a look around and explore the features of our platform.
Interested in Quix Cloud?
Take a look around and explore the features of our platform.